tl;dr:
- SquareSpace is great for bloggers that don’t want to mess with the internal components of website-generation, but has a somewhat slow and clunky interface, especially for markdown and embedding images/links/code.
- Jekyll + Github is a great alternative, and learning how to use it serves as a friendly intro into using these development tools (git, shell, etc).
- Blogging workflow, in markdown, in a text editor is SO much smoother, in terms of writing, formatting, and embedding stuff.
After using SquareSpace for my personal website for 4 years, I decided to say goodbye and switch to something else, and that something else is this: a static website built using Jekyll and hosted on GitHub (Pages) for free, with my old domain name purchased through Google Domains. In this post, I will briefly document the process of setting up the new website and migrating over content (mainly blog posts), as well as some interesting things I learned about websites and the interwebs from this process. For another perspective on migrating from SquareSpace to Jekyll, see here for a very clear and concise exposition.
Why I left SquareSpace
SquareSpace, for the most part, was a great service. Having used Wordpress and Tumblr for blogging, SquareSpace just felt like a sharper, classier, and better put-together platform. Most of that was probably due to the well-designed templates, which were fewer in number compare to Wordpress or Wix, but every one of them was good. It also costs $100 a year, which, factoring in hosting, domain name registration, various integrated services (e.g., analytics, commenting) and the platform itself, was not unreasonable. I would still recommend SquareSpace to anyone that wants to have a beautiful personal website, especially if 1) coding ability is an issue, 2) you have a lot of multi-media content and/or transactions, and 3) having a custom domain name is a priority.
So why did I switch? Well, having gone through the last 4 years of my PhD doing scientific programming everyday, I felt that I wanted my website to reflect my new-found skillset and “values”, if that’s not too strong of a word? That also means having a fuller control of my blog content and using a set of open-source tools that the computational sciences and software engineering community embraces (with the plan of embedding code or full-fledged Jupyter Notebooks into my blog in the future). When I built my website 4 years ago on SquareSpace, designing the visual experience was 90% of the work, partly because that was a priority of mine, but also because that was all I had control over. It was a beautiful website, if I may say so myself, and I had even injected custom CSS code. Too bad I didn’t take a screenshot of it before closing my account.
Anyway, my one real problem with the platform was that it felt bulky, and writing a blog article inside a dynamic Javascript editor box that had serious word processing capabilities seemed like an overkill, if not downright slow and a waste of resources. Most of the time I would write in an editor offline anyway. Also, I think the main bulk of the platform went to supporting the visual design aspects of the website, and after having seen hundreds of developers’ personal/project sites with the same 4 or 5 fonts and layouts, I was sold: sign me up for uniformity, please! That was the last straw for me, and I knew I no longer wanted to pay $100 a year for a beautiful but slow and bulky platform to make a website that looked like it was threw together for $0 and in 10 minutes.
Static vs. Dynamic Websites
(Note that I’m not a web-developer, and some of the comments below may be my own - incorrect - inferences.)
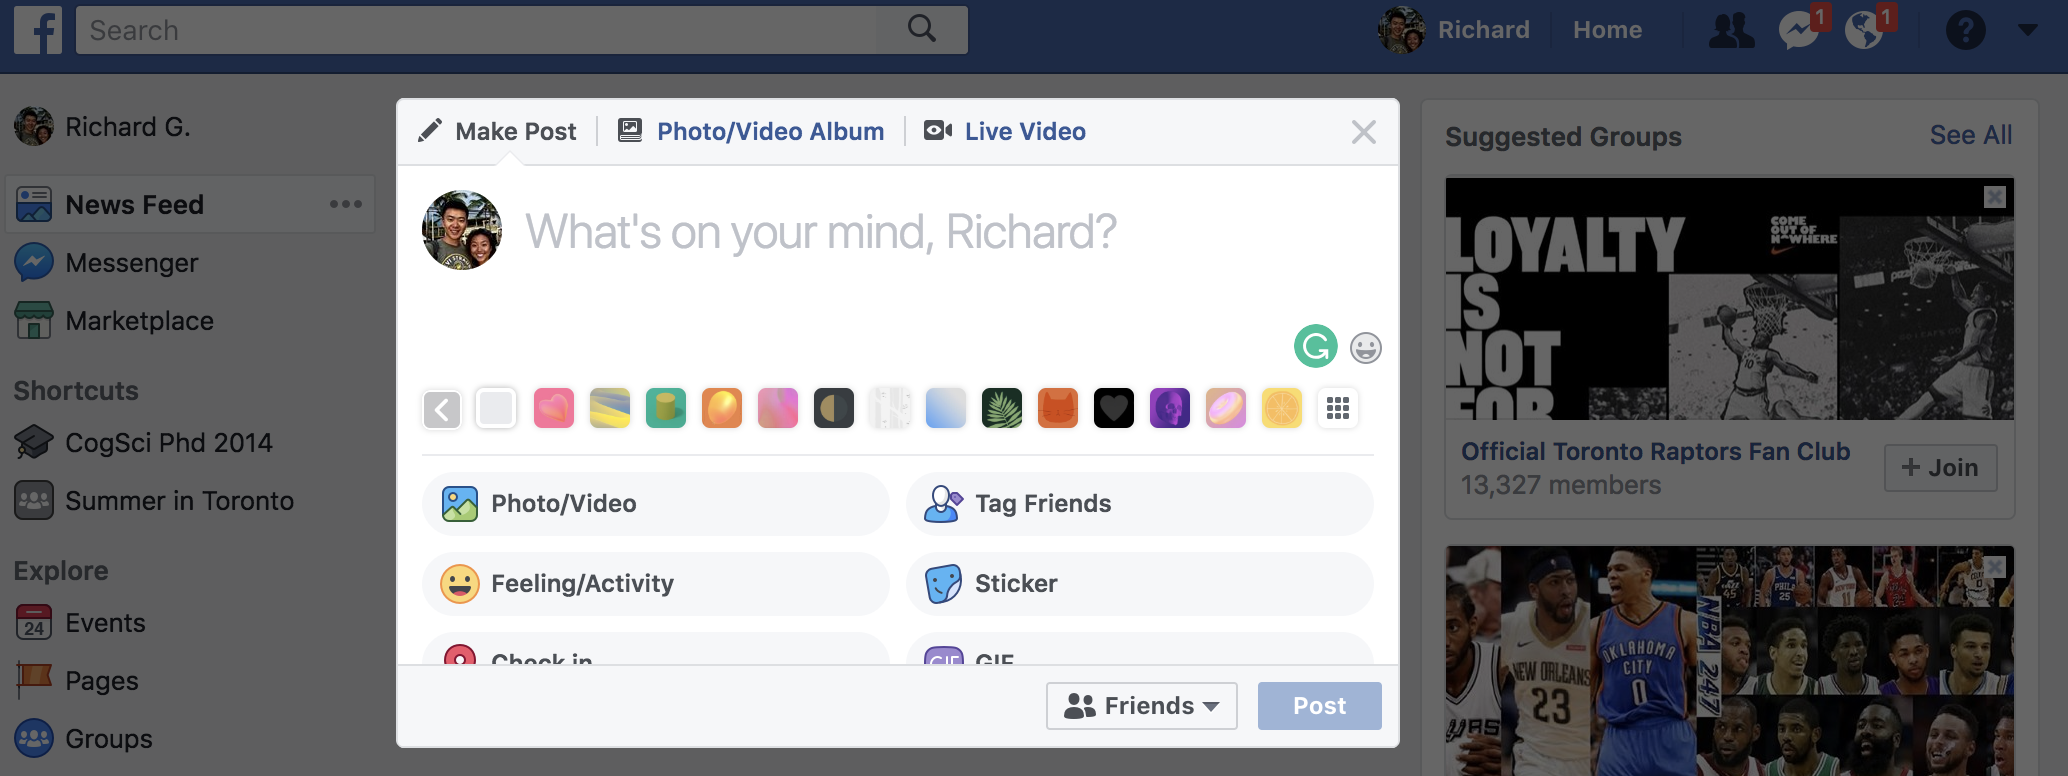
Before delving into Jekyll, I want to talk about the difference between static vs. dynamic websites, which I think would be interesting for the broader audience as well. Prior to migrating, I thought all websites were the “same” and never really appreciated the fact that some sites have lots of dynamically responsive elements. An example of that is the status update box on Facebook, which opens up when you click it, and once you hit “Post”, that new status immediately updates your home page, and the “master copy” of Facebook as well, so that all your friends can see your fancy dinner. Same goes for Twitter in the browser. This is usually enabled in the form of Javascript (I think?), which communicates in realtime with the backend infrastructure of Facebook to make sure all these changes are updated simultaneously. Clearly, this requires a lot of resources, both in terms of backend infrastructure, hosting, and bandwidth, and makes sense if you have content that should be updated in realtime.
In contrast, static websites don’t update in realtime, and have very few responsive elements. If you’ve ever visited a Math/CS professor’s website, you’ll know what a static website of the times past looks like. Static websites are easy to manage, because it’s just a bunch of text/data files on a server, literally like a folder on your computer. It’s also faster if all you have are html files that need to be rendered and displayed. For most people, this suffices as a personal website. I guess that’s the reason why we were taught how to make static sites in high school, but what was a pain in the ass then is still a pain in the ass with creating static websites now: writing HTML and CSS from scratch. I think this is the main barrier for people who want a personal website but don’t need to know html/CSS, i.e., not a web-developer.
Jekyll & GitHub Pages
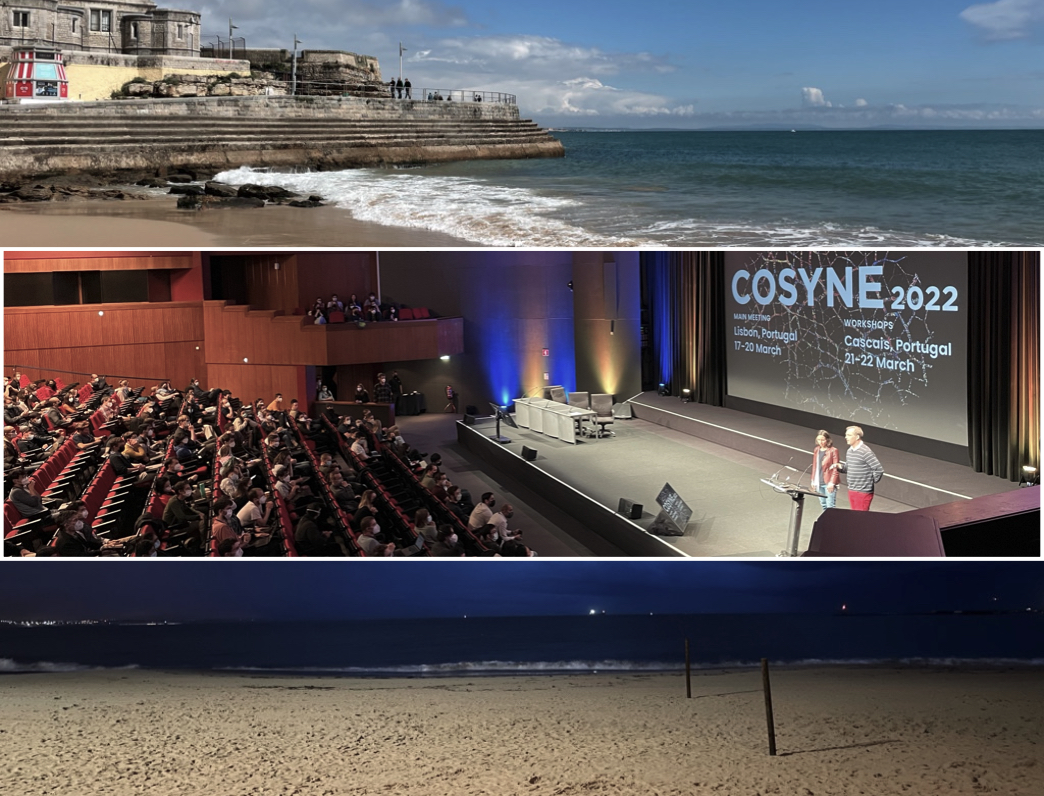
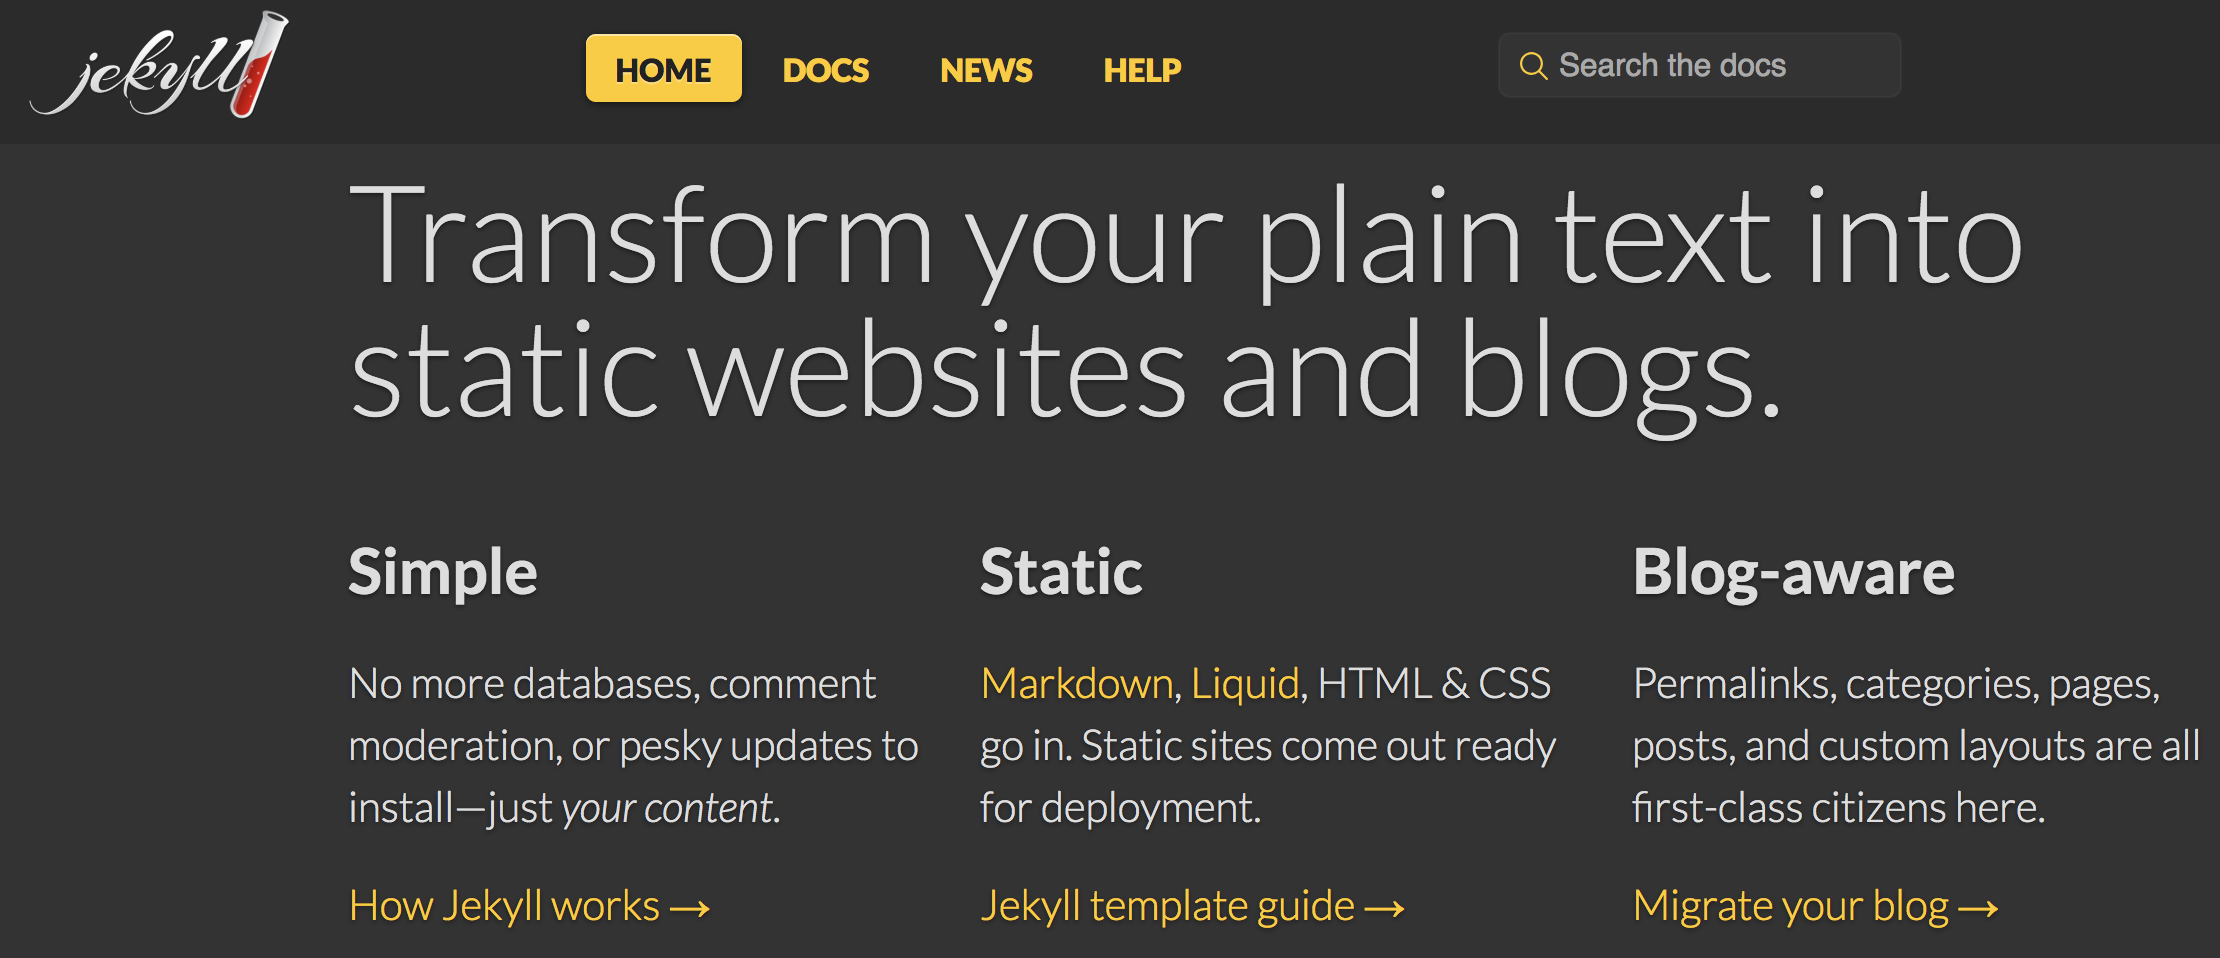 Enter: Jekyll. The graphic above pretty much says it all. Jekyll is a tool that transforms (basically) text files into static, blog-enabled websites, which is then hosted on and automatically rendered by GitHub. To build a website in less than 5 minutes, you pretty much just need to follow this guide. GitHub provides a number of templates, and you can look externally for open-source themes made by people in the community, like the one I’m using here (Minimal Mistakes). It wasn’t too much work to get it up and running, and there is plenty of support in the repo issues (for this particular theme, and most of the more popular ones). You can also have fancy features like aggregate blog posts by topic, a search bar, embedded photo galleries (like here), etc.
To use an analogy, if building a website is like cooking a meal, where your content is the raw ingredients and the recipe is the theme/features, then using Wordpress/SquareSpace is like mailing your raw ingredients to this “cooking company”, along with the specific recipes you want to follow, plus maybe some $$$, and you get your meal back. It’s hard to get the ingredients back in a useable form, and it’s more difficult to tweak the process itself, but it is relatively painless if you just want the meal itself. Using Jekyll, the “cooking machine” is in your own home, and you get to keep the ingredients, as well as the ability to tweak the recipe to a much greater degree, instantaneously. In this case, the “recipe” lives in the pre-designed theme, but also in the _config.yml file, where theme-specific settings, like color scheme, can be changed.
All those factors, among other things, satisfies a particular niche where the user not only wants the finished product, but wants to be engaged with the process itself, at least insofar as to learn how it works. Bonus: if you’re familiar with git/GitHub at all, this will feel like a very natural process. (To take the analogy a step further, Gordon Ramsey has this saying in a lot of his videos: “let the knife do the work.”) And if you’re unfamiliar with git/GitHub/version control, this is a GREAT way to pick it up. In a nutshell, I feel like this is a very good compromise between having a sense of how web-development works (hosting, resource management, etc), and not having to do a lot of the grunt work yourself (coding html/CSS, designing every single aspect of the visual experience). You can find a collection of themes here, here, & here.
Markdown + atom.io Workflow
 This is what being empowered looks like.
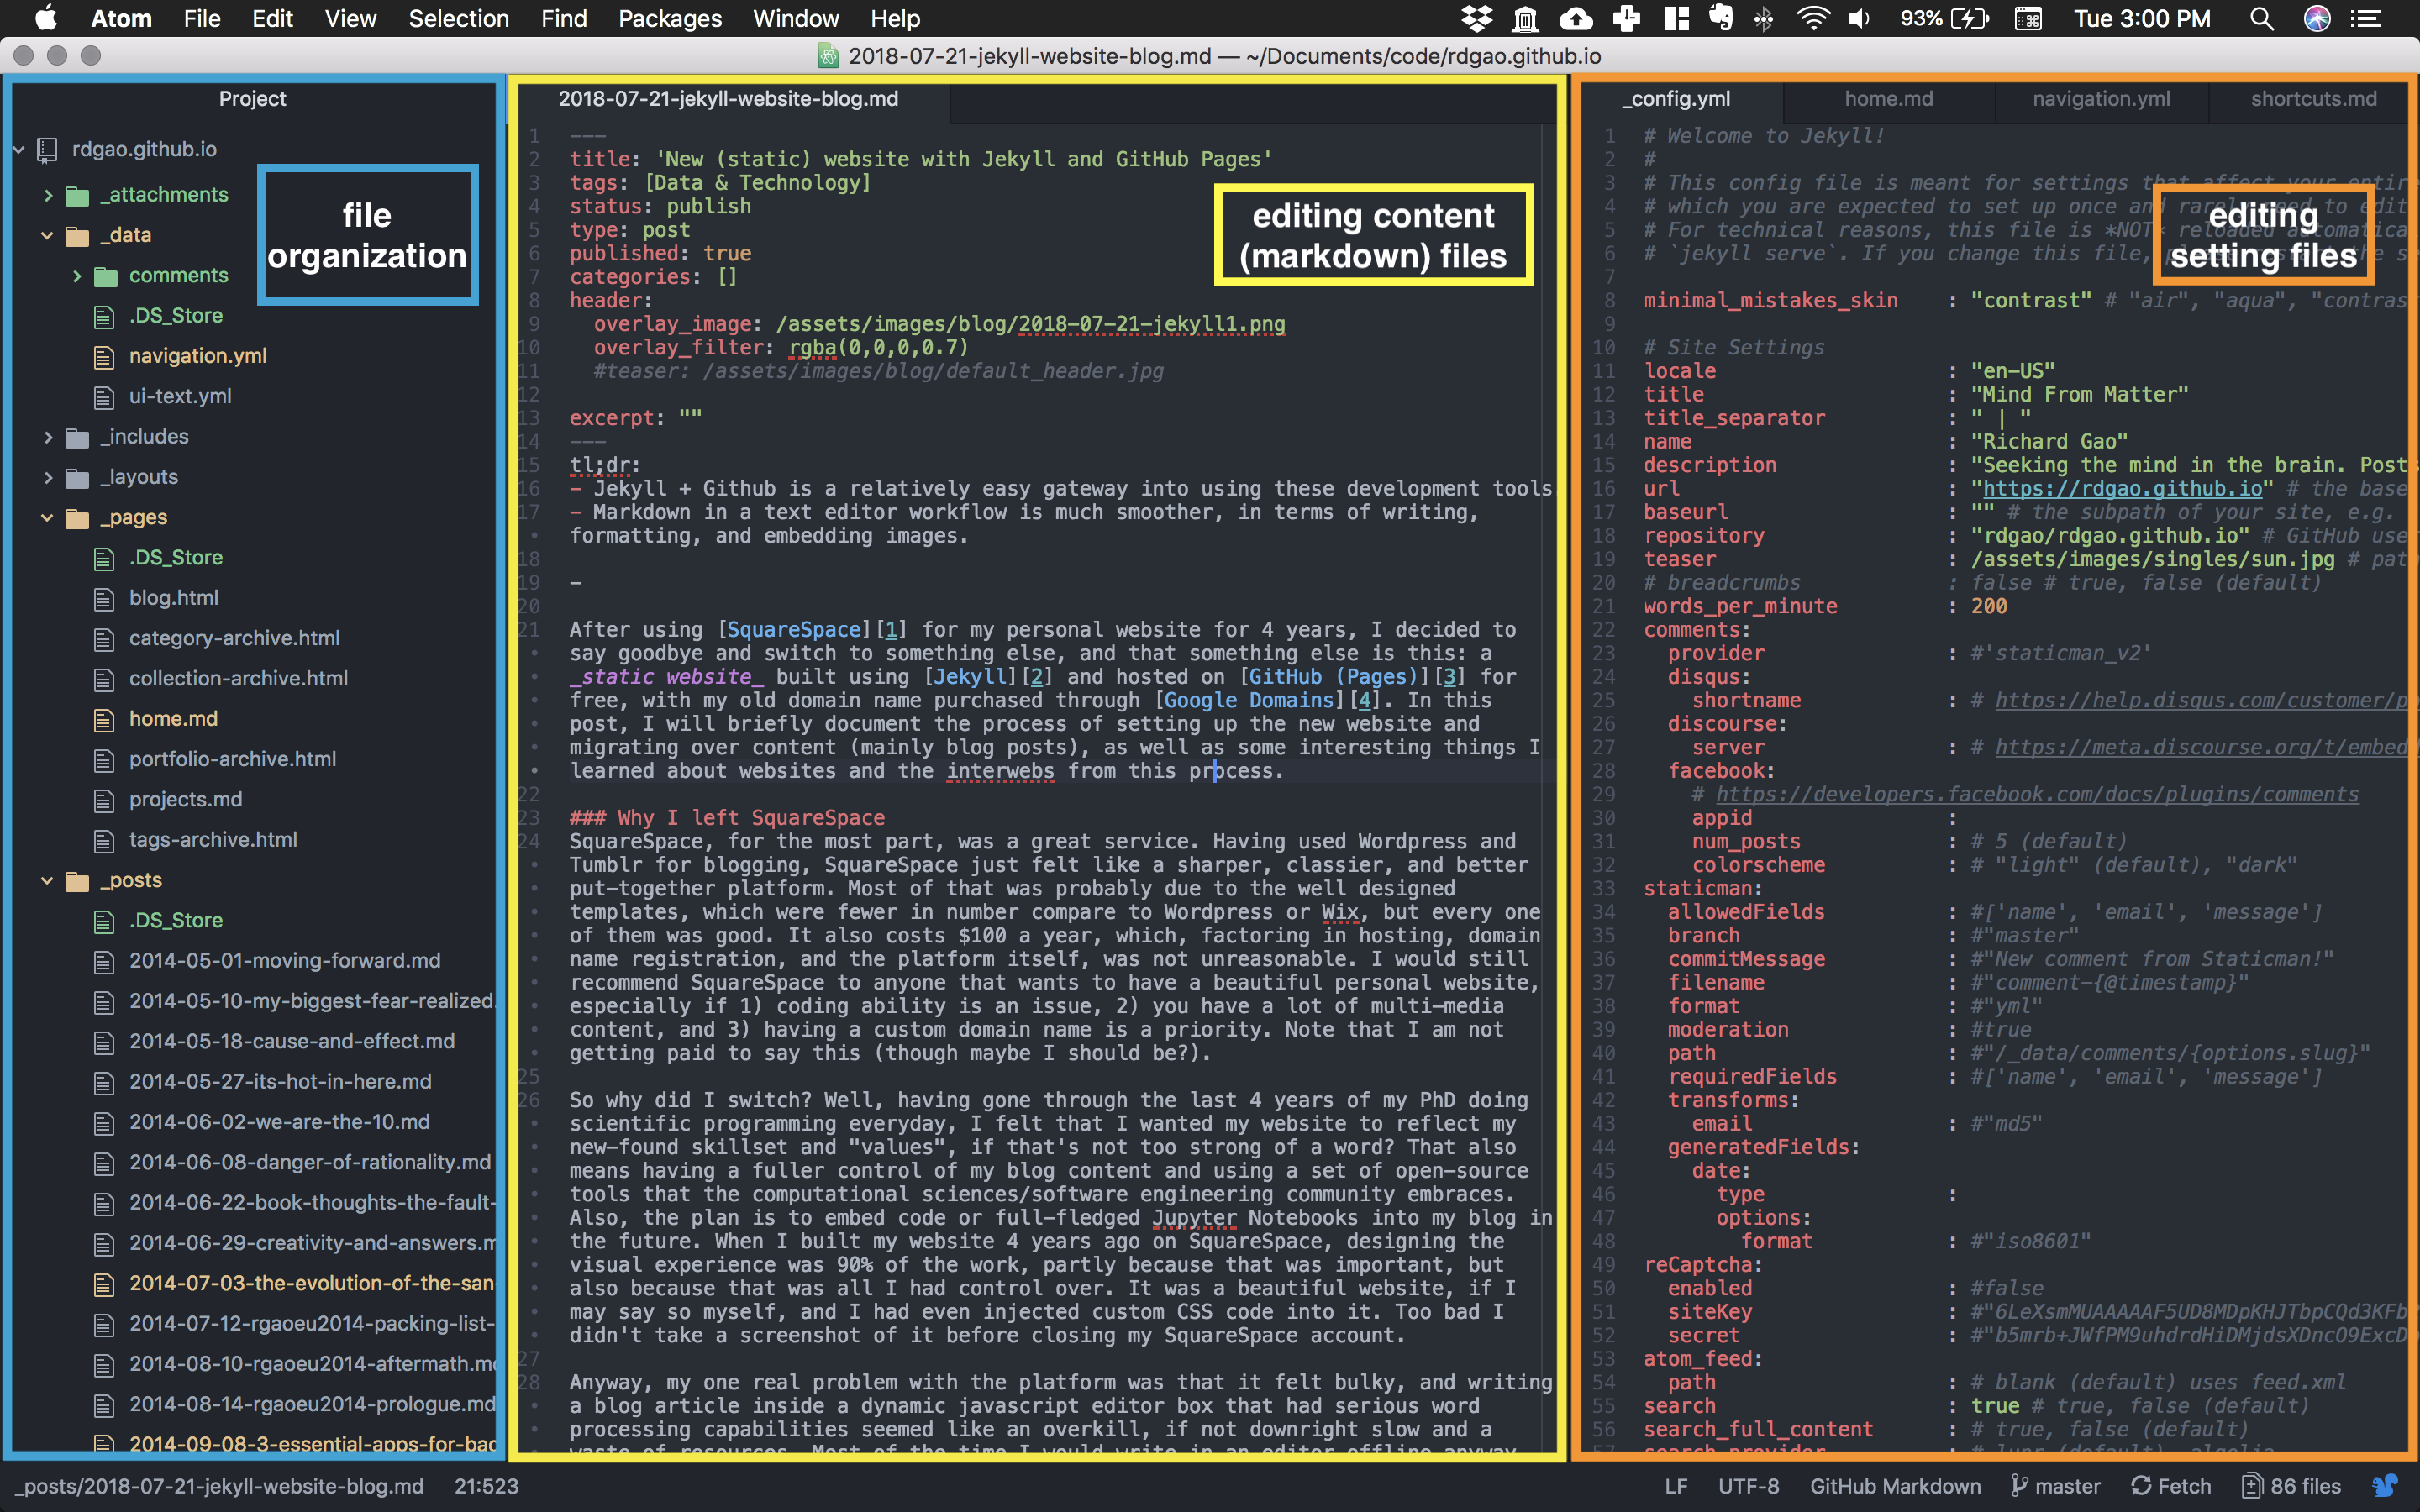
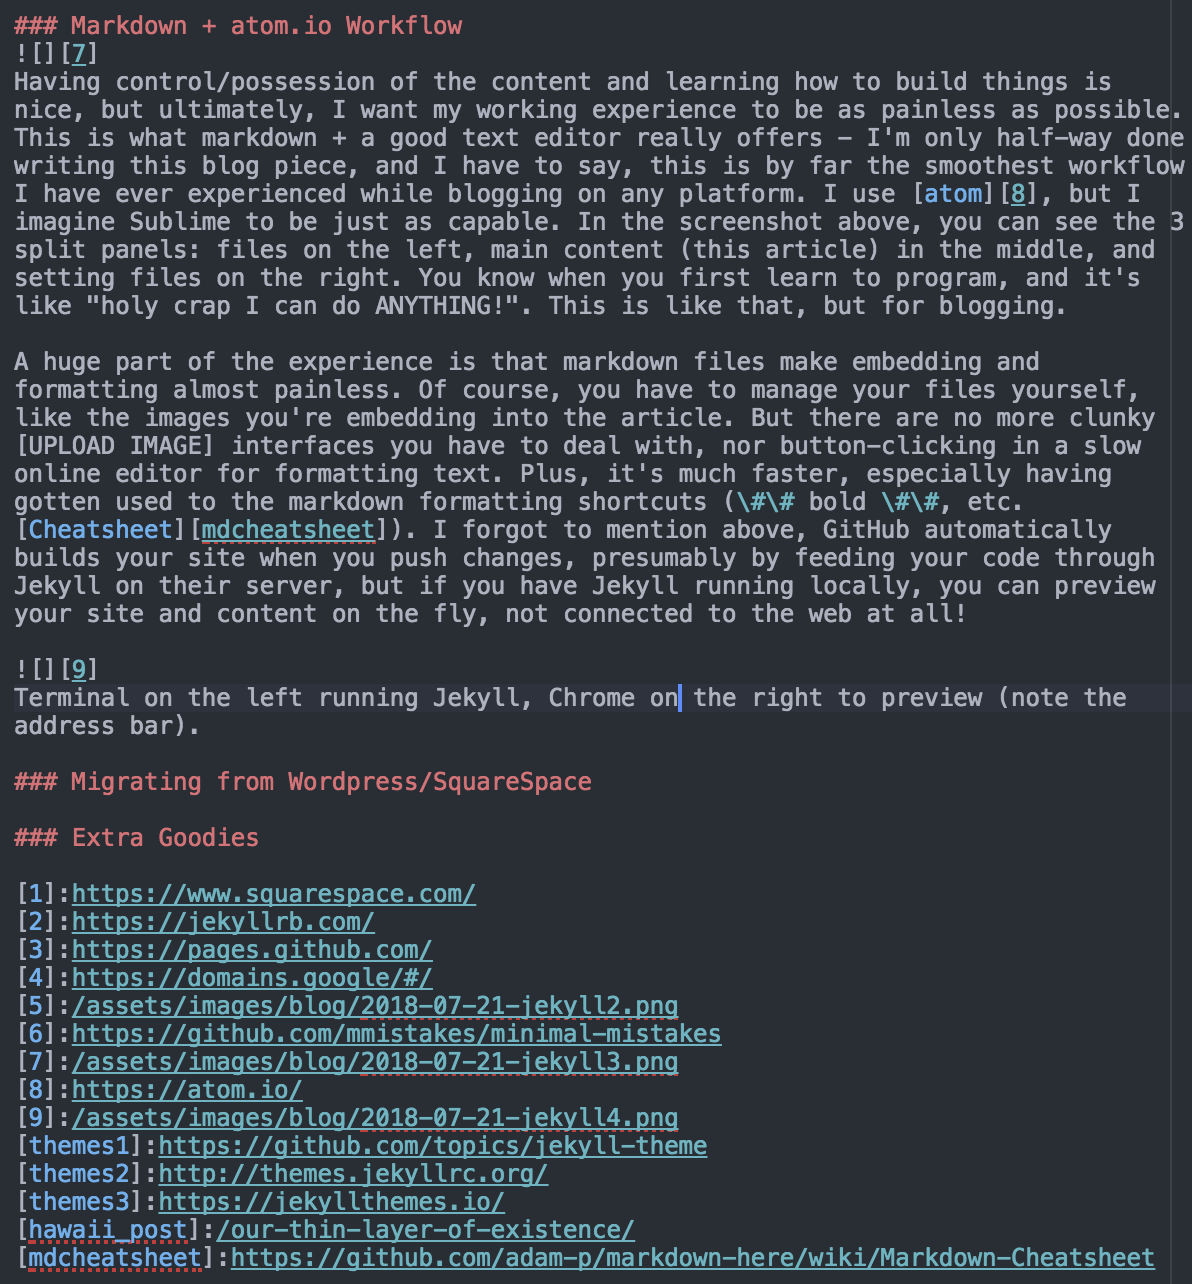
Having control/possession of the content and learning how to build things is nice, but ultimately, I want my working experience to be as painless as possible. This is what markdown + a good text editor really offers - I’m only half-way done writing this blog piece, and I have to say, this is by far the smoothest workflow I have ever experienced while blogging on any platform. I use atom, but I imagine Sublime to be just as capable. In the screenshot above, you can see the 3 split panels: files on the left, main content (this article) in the middle, and setting files on the right - and this is on a single laptop screen. You know when you first learn to program, and it’s like “holy crap I can do anything I want?!?” This is like that, but for blogging.
 Square brackets for inline referenced links and images, then dump all the addresses at the bottom.
A huge part of the experience is that markdown files make embedding and formatting almost painless. Of course, you have to manage your files yourself, like the images you’re embedding into the article. But there are no more clunky [UPLOAD IMAGE] interfaces you have to deal with, nor button-clicking in a slow online editor for formatting text. Plus, it’s much faster, especially having gotten used to the markdown formatting shortcuts (## bold ##, etc. See cheatsheet). I forgot to mention above, GitHub automatically builds your site when you push changes, presumably by feeding your code through Jekyll on their server, but if you have Jekyll running locally, you can preview your site and content on the fly, not connected to the web at all!
I believe both Wordpress and SquareSpace are able to accept markdown-style texts, which is great for external links, but is still a pain to manage images, since you have to upload and figure out the address of those images. Plus, no formatting-aware pretty colors. Oh and, of course, you get all the nice tools of the editor itself as well, one of which is “snippet” in atom, where I can type “blank_header” and that will expand into the blog article settings header you see in the first screenshot.
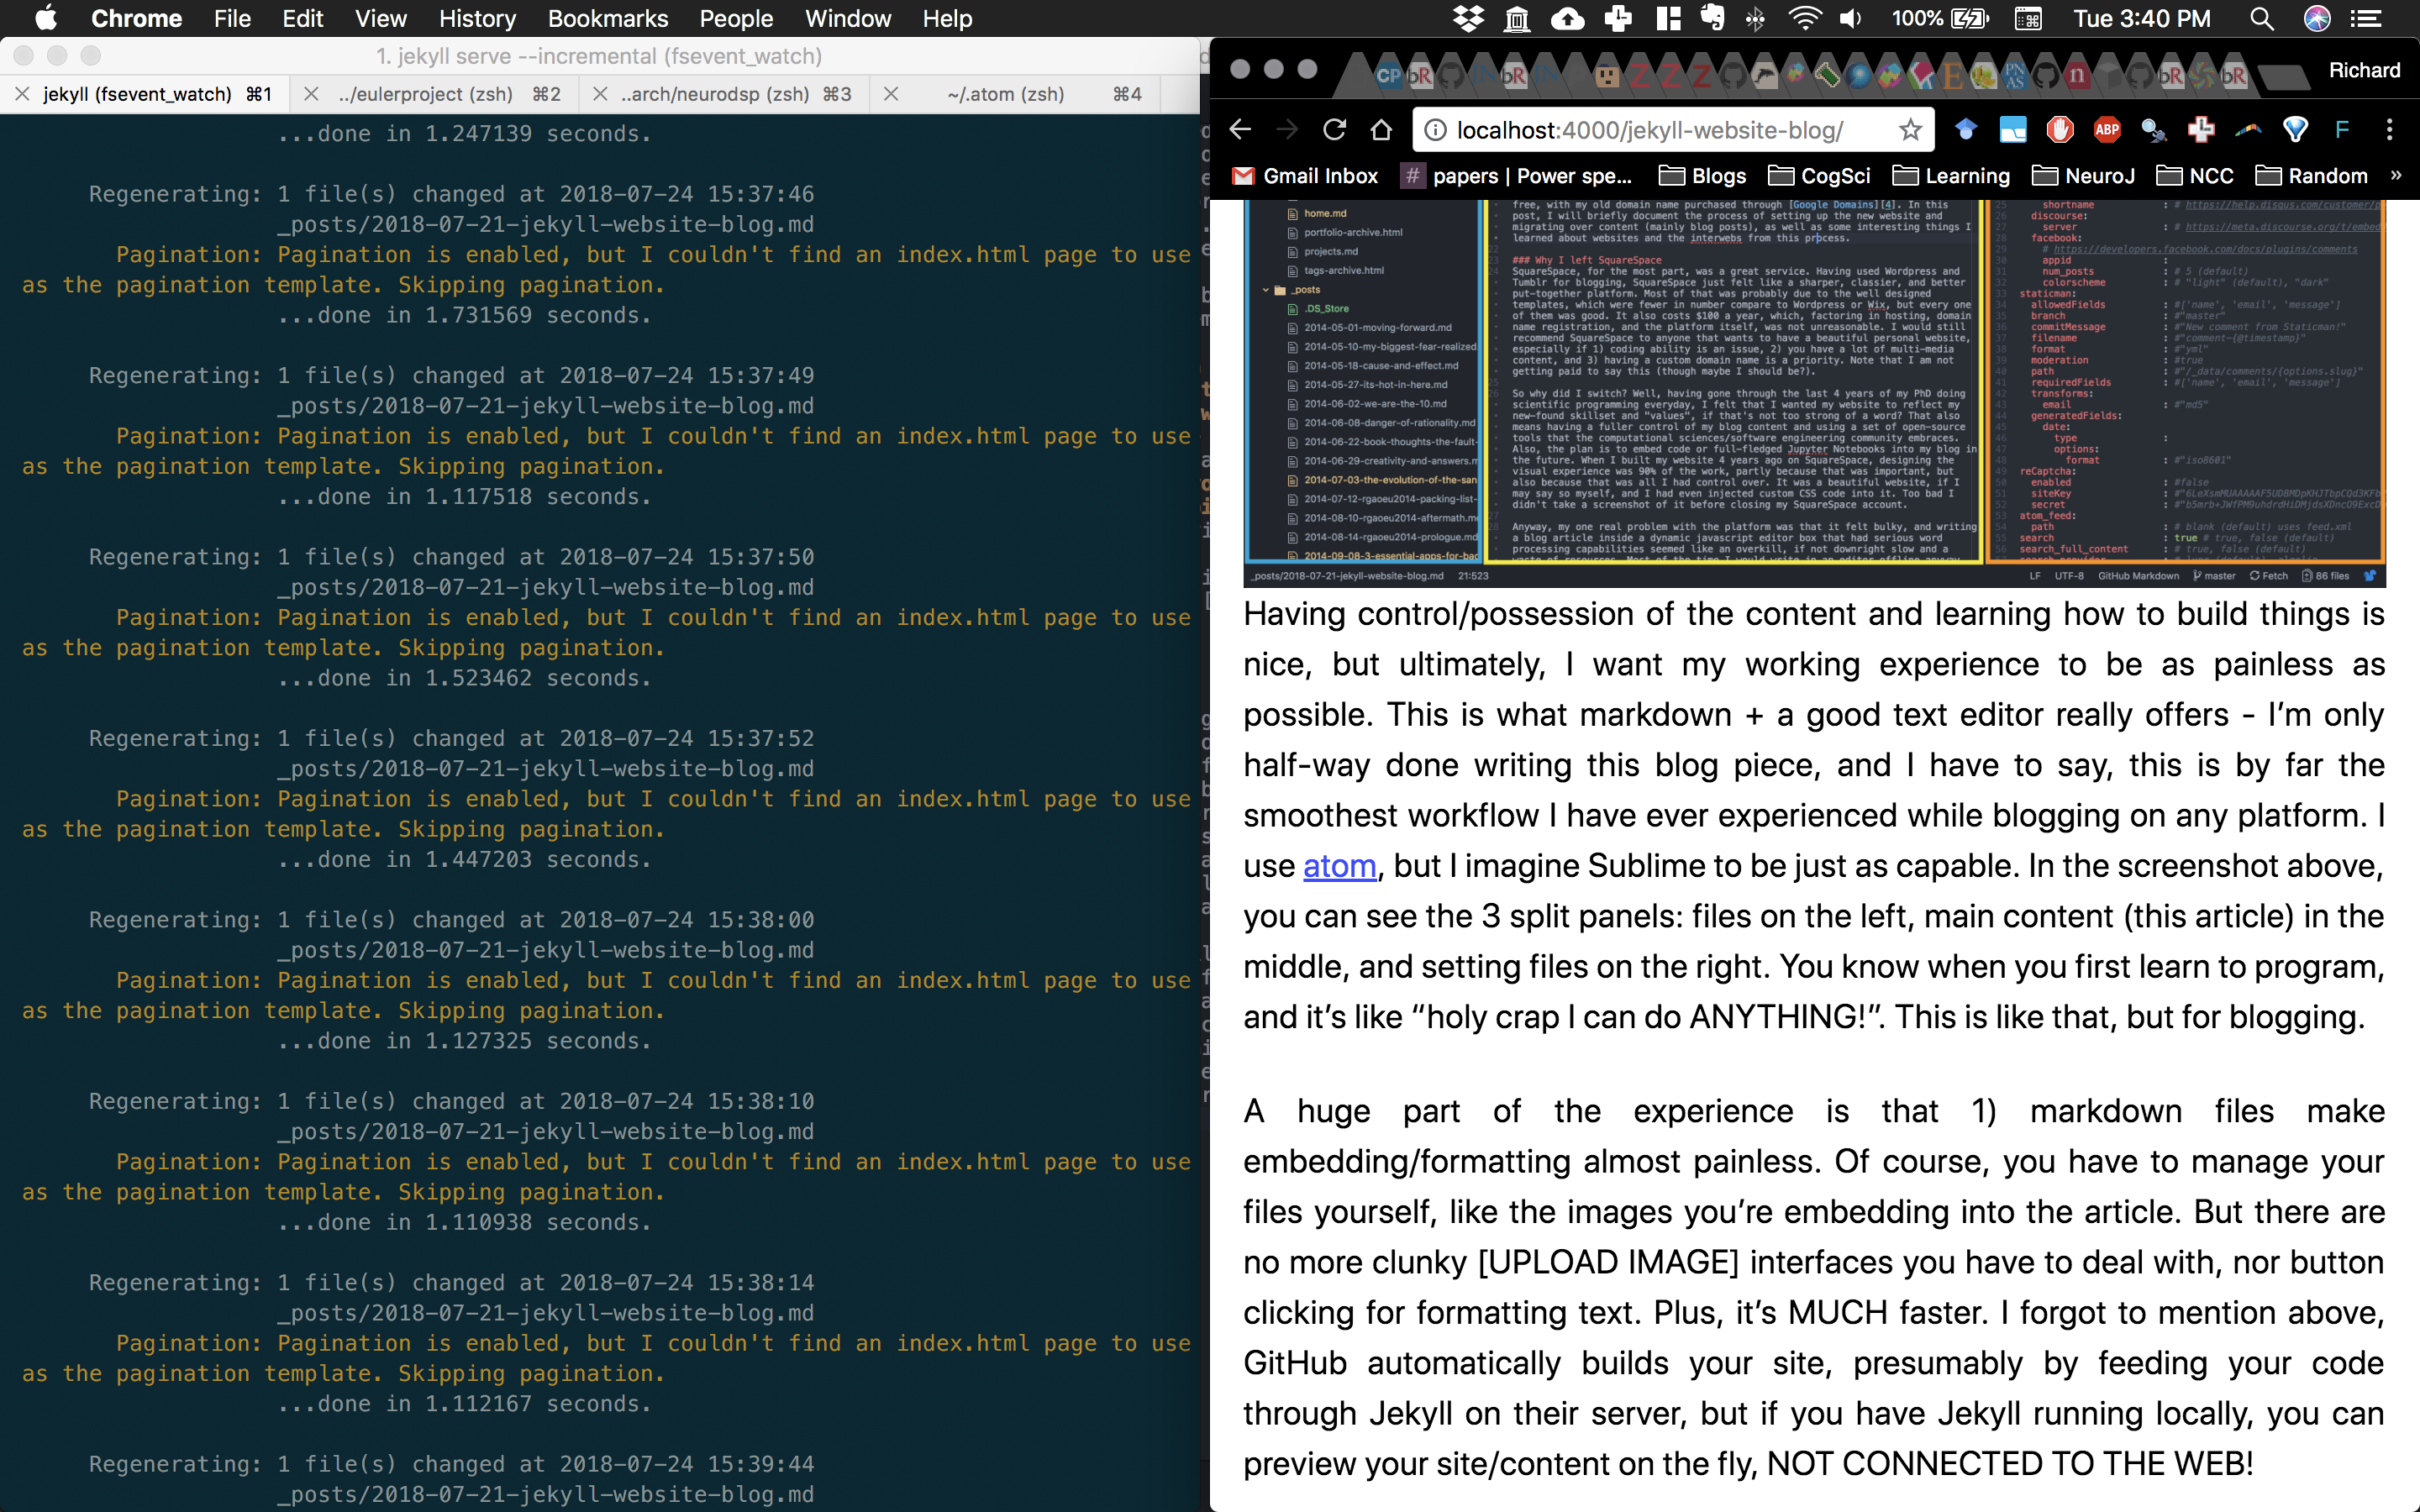 Terminal on the left running Jekyll, Chrome on the right to preview (note the address bar).
Migrating from Wordpress/SquareSpace
If I’ve convinced you to move your existing blog/website from Wordpress or SquareSpace, great! It took me a couple of months on the weekends, but a lot of it was figuring things out by myself and also manually reformatting a lot of old articles to be markdown compatible. Essentially, the process is to export your existing content from Wordpress or SquareSpace as XML files, and change them to be compatible with Jekyll & markdown. This has some practical advice for the migration process, including a super helpful Ruby script (by Evan Walsh) that converts the html exports into markdown files. I’ve built some helper scripts as well, one of them (html2markdown.ipynb) is a Jupyter Notebook that fixes up some of the mangled exports, and another (make_thumbnail.ipynb) to resize images into the same size, either via padding or cropping and down/up-sampling, to make gallery-compatible thumbnails.
import html2text
import os
import string
post_folderpost_fol  = '../SS_export/SS_posts/'
export_folder = '../SS_export/exported_md/'
html_files = os.listdir(post_folder)for file_ind in range(len(html_files)):
    file = post_folder+html_files[file_ind]
    new_file = export_folder+html_files[file_ind][:-5]+'.md'
    print(new_file)
    # read ...
    with open(file, 'r') as readfile:
        data=readfile.read()
    # and write...
    # first 3 characters is always '---', so just need to find the second instance
    yaml_end = data.find('---',1)+3
    newdata = '---\n'+data[data.find('title'):yaml_end] + '\n\n' + html2text.html2text(data[yaml_end:])
    with open(new_file, "w") as writefile:
        writefile.write(newdata)
Holy crap embedded python code! (Same as in html2markdown.ipynb, need the html2text package.)
Extra Goodies
Two more points I wanted to mention: first, I’m very much looking forward to integrating Jupyter Notebooks into the blog, or at least have code snippets available embedded within tutorials. Specifically, I want to give this a go at some point. God willing that I don’t change the whole infrastructure of my website again in a few years, this site will be more than a blog, but also my “business card” or a curated gateway into my code and publications.
Second, migrating my blog made me aware of something unexpected sinister that I had never thought about before: comments. Specifically, using comment services like Disqus, which I think was enabled on my old SquareSpace blog. Disqus is super convenient as a service - I mean, clearly, I didn’t even realize that it was an independent service on my old blog. But like the saying goes, if you’re not paying for it, you’re the product. Turns out, even if your site does not serve ads or track visitor information for ad purposes, by enabling Disqus, you allow it to send that user info to their customers - buyer of your information (see here, here, here). So as of right now, this blog is comment-less (by choice! Not that it was getting lots of comments before..) There are some really interesting/creative alternatives, like staticman, which accepts comments and push them to the GitHub repo of your website. I spent quite some time getting it to work, but was unable to for weird reasons.
For now, just @ me on Twitter.